Continuing on from the previous post, this entry will describe a workflow for saving the satellite image mosaic created using Google Earth Engine to an RGB raster file. The image will then be processed to scale its values, and tiled for use as a web map layer.
Exporting the Image
After running the GEE script from the last post, prepare a layer for export by selecting bands from the rgb layer and sorting them in RGB format (i.e. bands 4, 3, 2). The resulting RGB layer can then be exported to a GeoTiff (requires Google Drive with sufficient storage available) by additionally running the code below and then clicking Run > Set Output in the Tasks panel. Note that the export may take quite a long time to run (in my case 39 mins), but once started the GEE editor can be closed. For starting in a fresh editor session, a full script is available here, which skips the visualization and other unneeded elements of the original script, and then runs the export.
// Reorder bands to correct 'True Color' RGB ordering.
var sentinel2mosaic = rgb.select('B4_median').rename('b4')
  .addBands(rgb.select('B3_median').rename('b3'))
  .addBands(rgb.select('B2_median').rename('b2'));

// Export the image, specifying the CRS, scale, and region.
Export.image.toDrive({
  image: sentinel2mosaic,
  description: 'sentinel2mosaic',
  crs: 'EPSG:4326',
  //crsTransform: affine,
  region: geom,
  scale: 10
});
Processing
One the export is complete, the file can be downloaded from Google Drive and processed. The intent is to tile the image using gdal2tiles, but if we check the data type of the file with gdalinfo as gdalinfo sentinel2mosaic.tif -mm, we can see the values are stored as a Float64 data type, whereas the gdal2tiles documentation states the following:
Inputs with non-Byte data type (i.e. Int16, UInt16,…) will be clamped to the Byte data type, causing wrong results. To avoid this it is necessary to rescale input to the Byte data type using gdal_translate utility.
This means before we can tile the image, we first need to convert the data type from Float64 to Byte, and scale the 64 bit values to fit within this greatly reduced range (0-255). As recommended above, we can use gdal_translate for this as:
gdal_translate -ot Byte -scale sentinel2mosaic.tif sentinel2mosaic-8bit.tif
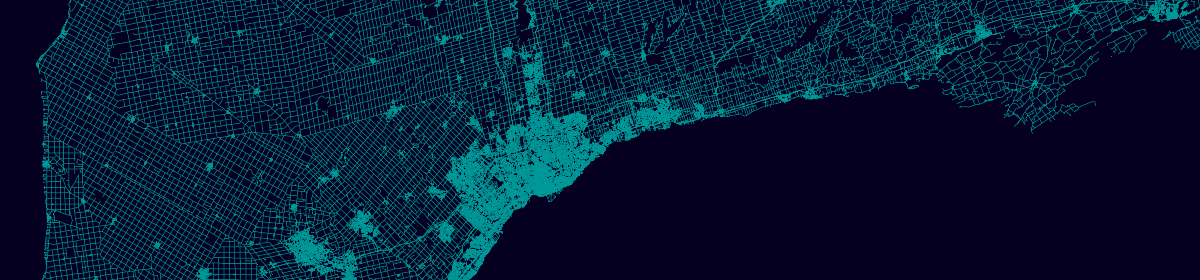
Although if you then open the resulting file in QGIS, you will likely see that the image appears very dark:

To fix this, right click on the layer and select Properties > Symbology, and under Min / Max Value Settings, set Cumulative count cut, and Contrast enhancement as Stretch to MinMax, then hit Apply:

What happened here was the extreme top and bottom 2% of values were excluded from the color ramp, which were otherwise setting a too large range that allocates unexpected colors to the majority of values. This fix only applies to the layer in QGIS, however, so to fix the file itself, we too need to exclude the top and bottom 2% of values when scaling. One way to get these values can be with a simple Python script as below:
python3
import gdal
import numpy as np

ds = gdal.Open('sentinel2mosaic.tif')
for n in range(1, 4):
    band = ds.GetRasterBand(n)
    arr = band.ReadAsArray()
    sel = np.isnan(arr)
    p2 = np.percentile(arr[~sel], 2)
    p98 = np.percentile(arr[~sel], 98)
    print('{}: {} {}'.format(n, p2, p98))
Which returns the values:
1: 147.5 1341.0
2: 292.5 1184.0
3: 268.0 955.0
We can then re-run the scaling and override the default min-max values with the 2nd and 98th percentiles calculated above as:
gdal_translate -ot Byte -scale_1 147.5 1341.0 0 255 -scale_2 292.5 1184.0 0 255 -scale_3 268.0 955.0 0 255 sentinel2mosaic.tif sentinel2mosaic-8bit.tif
Loading this to QGIS should look fairly comparable to the last layer – but now without needing to tweak the symbology.
Tiling
The image can now be tiled using gdal2tiles with something as below, exporting tiles for zoom levels 2 to 12 to a directory called tiles.
gdal2tiles.py -z 2-12 sentinel2mosaic-8bit.tif tiles
A leaflet.html file is also exported, containing a web map, which with a few tweaks (e.g. updating the tiles url) can be uploaded online.
I needs to spend some time learning much more or understanding more.